

How to Sew a Pillow Cover for a 18” by 18” Pillow

After mastering the use of my sewing machine, one of the initial projects I tackled was sewing pillow covers. Among the various options, an envelope cover stood out for its simplicity. If you're a novice seamstress seeking a beginner-friendly project, starting with an envelope cover is an excellent choice.
Crafting your own pillow covers can bring refreshing color and texture changes to your home decor, making it a worthwhile investment of your time. Purchasing half a yard of fabric is often more economical than buying a brand-new decorative pillow.
Below, I've put together a straightforward tutorial specifically for sewing an envelope pillow cover designed for a 18 inch by 18 inch pillow form. While the instructions can be adapted for other square sizes, remember to make necessary adjustments by adding or subtracting inches accordingly.
Step by Step directions below and sew along via youtube.
You’ll need a pillow and one 18x18” square and two 18X11”. ( For a tight fitting pillowcase keep the fabric widths the same as the pillow 10x10, 20x20 etc etc)

2. On the inner edge of the 18x11” sections clean finished the edge. I serged the edge and then folded it back and added 1/4” topstitch.

3. Lay your 18x18 section right side facing you. And then lay the 18x11” sections with the right sides facing down. The right sides will be facing each other and the wrong side facing you. Pin all around the edges, the Center of the 18x11” sections will overlap.
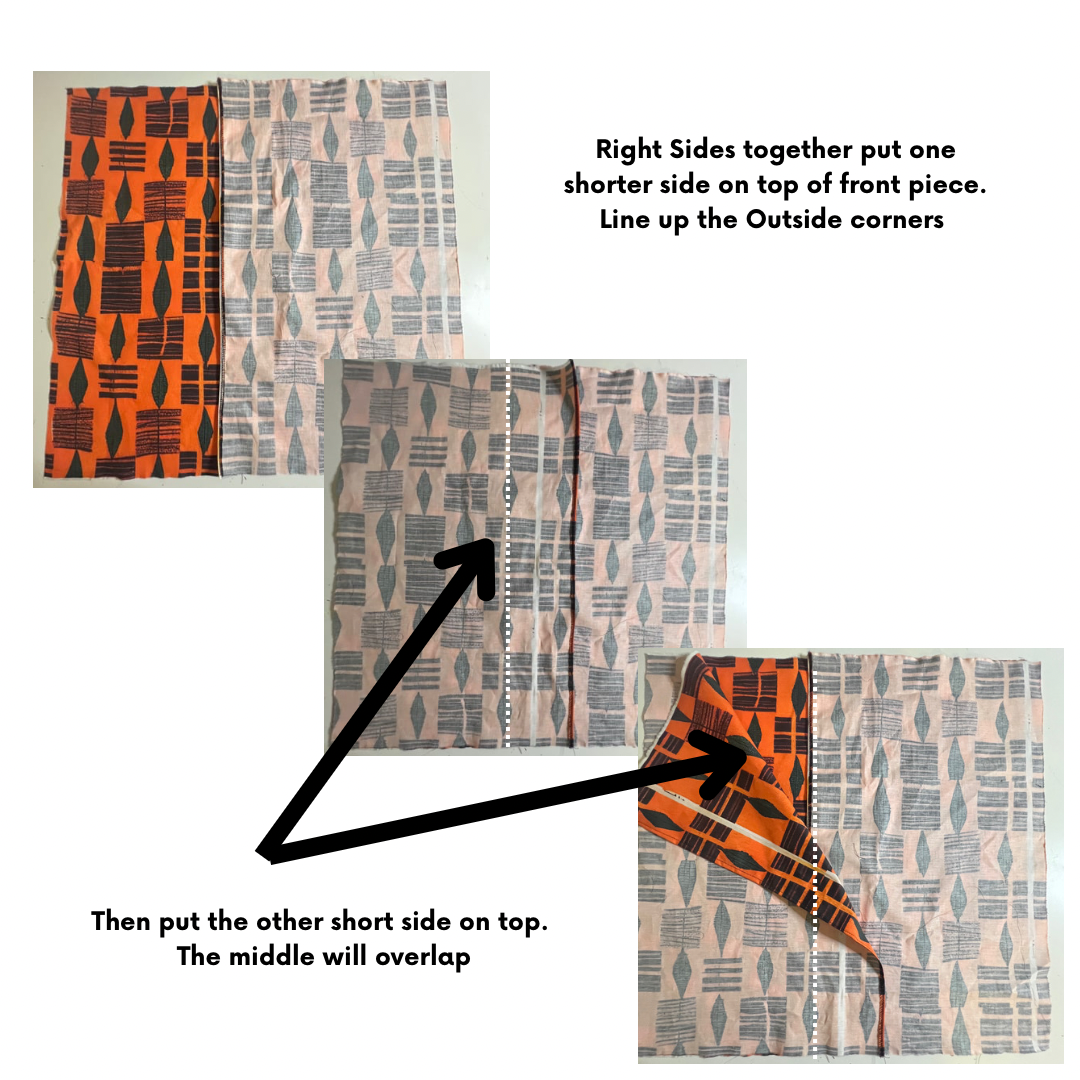
4. Here is a visual reference.

5. At each corner, clip the edges ensuring not the cut your stitches. This will ensure your pillow have sharp corner.

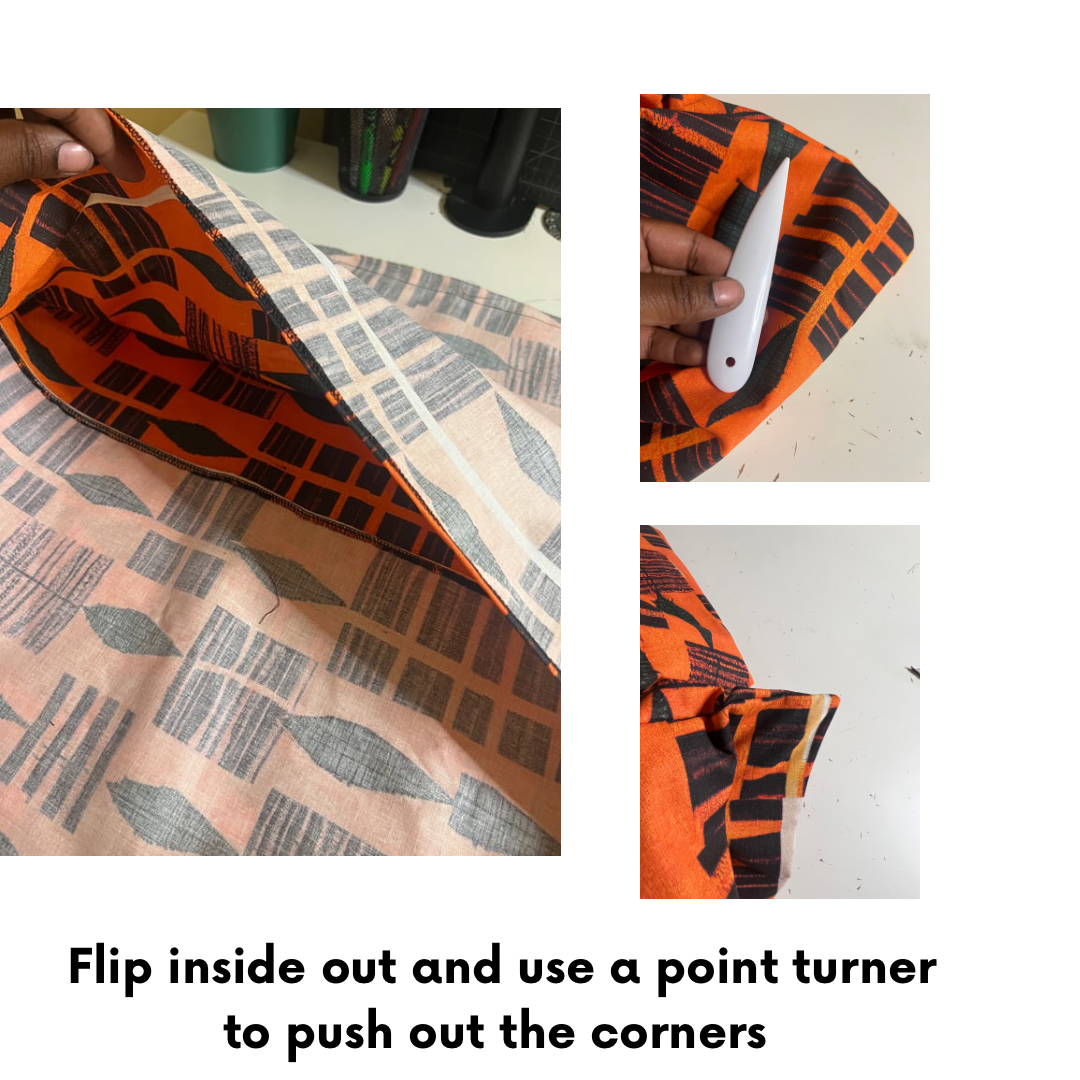
6. Flip it right side out and then use a point turn or something pointy to push out the corner and then give it a press.
7. This is what the front and the back of your pillow case should look like!

Finish