

Twist and Style: DIY Guide to Creating Your Own Trendy Twist Front Headband
Welcome to Sewing with Phantashia, where we dive into creative DIY projects! Today, we'll be making a fabulous five-minute twist headband. Get ready for a fun and quick sewing adventure. Let's jump right in!
To start, gather these essential materials:
- 22 by 8-inch stretch fabric piece
- Pair of snips
- Pair of shears
- Sewing machine or serger
Step 1: Cut the fabric
Ensure that the stretch of the fabric runs from left to right along its length. This will provide a comfortable fit for your headband. Lay out your fabric and use your shears to cut a 22 by 8-inch piece.

Step 2: Fold and sew
Fold the fabric piece in half lengthwise, with the right sides together. This will create a long strip of fabric. Using your sewing machine or serger, sew along the longest edge of the folded fabric. Remember to keep the fabric aligned and guide it smoothly through the machine. Clip any loose threads for a clean finish.

Step 3: Flip and position
Flip the fabric inside out so that the seam is in the middle. Here's a helpful tip: ensure the seam is on the outside facing you when folding the fabric. Take the edges and align the seam with the fold of the bottom layer. Fold one side under and fold the opposite side over, keeping the seam on the outside.


Step 4: Secure and trim
Using your serger or sewing machine, quickly secure the folded edges together. Return to your workspace and grab your shears. Carefully trim the excess fabric close to the stitch line, ensuring a neat and tidy edge. For a professional touch, cut the corners at an angle to prevent them from sticking out. Be cautious not to cut the threads.

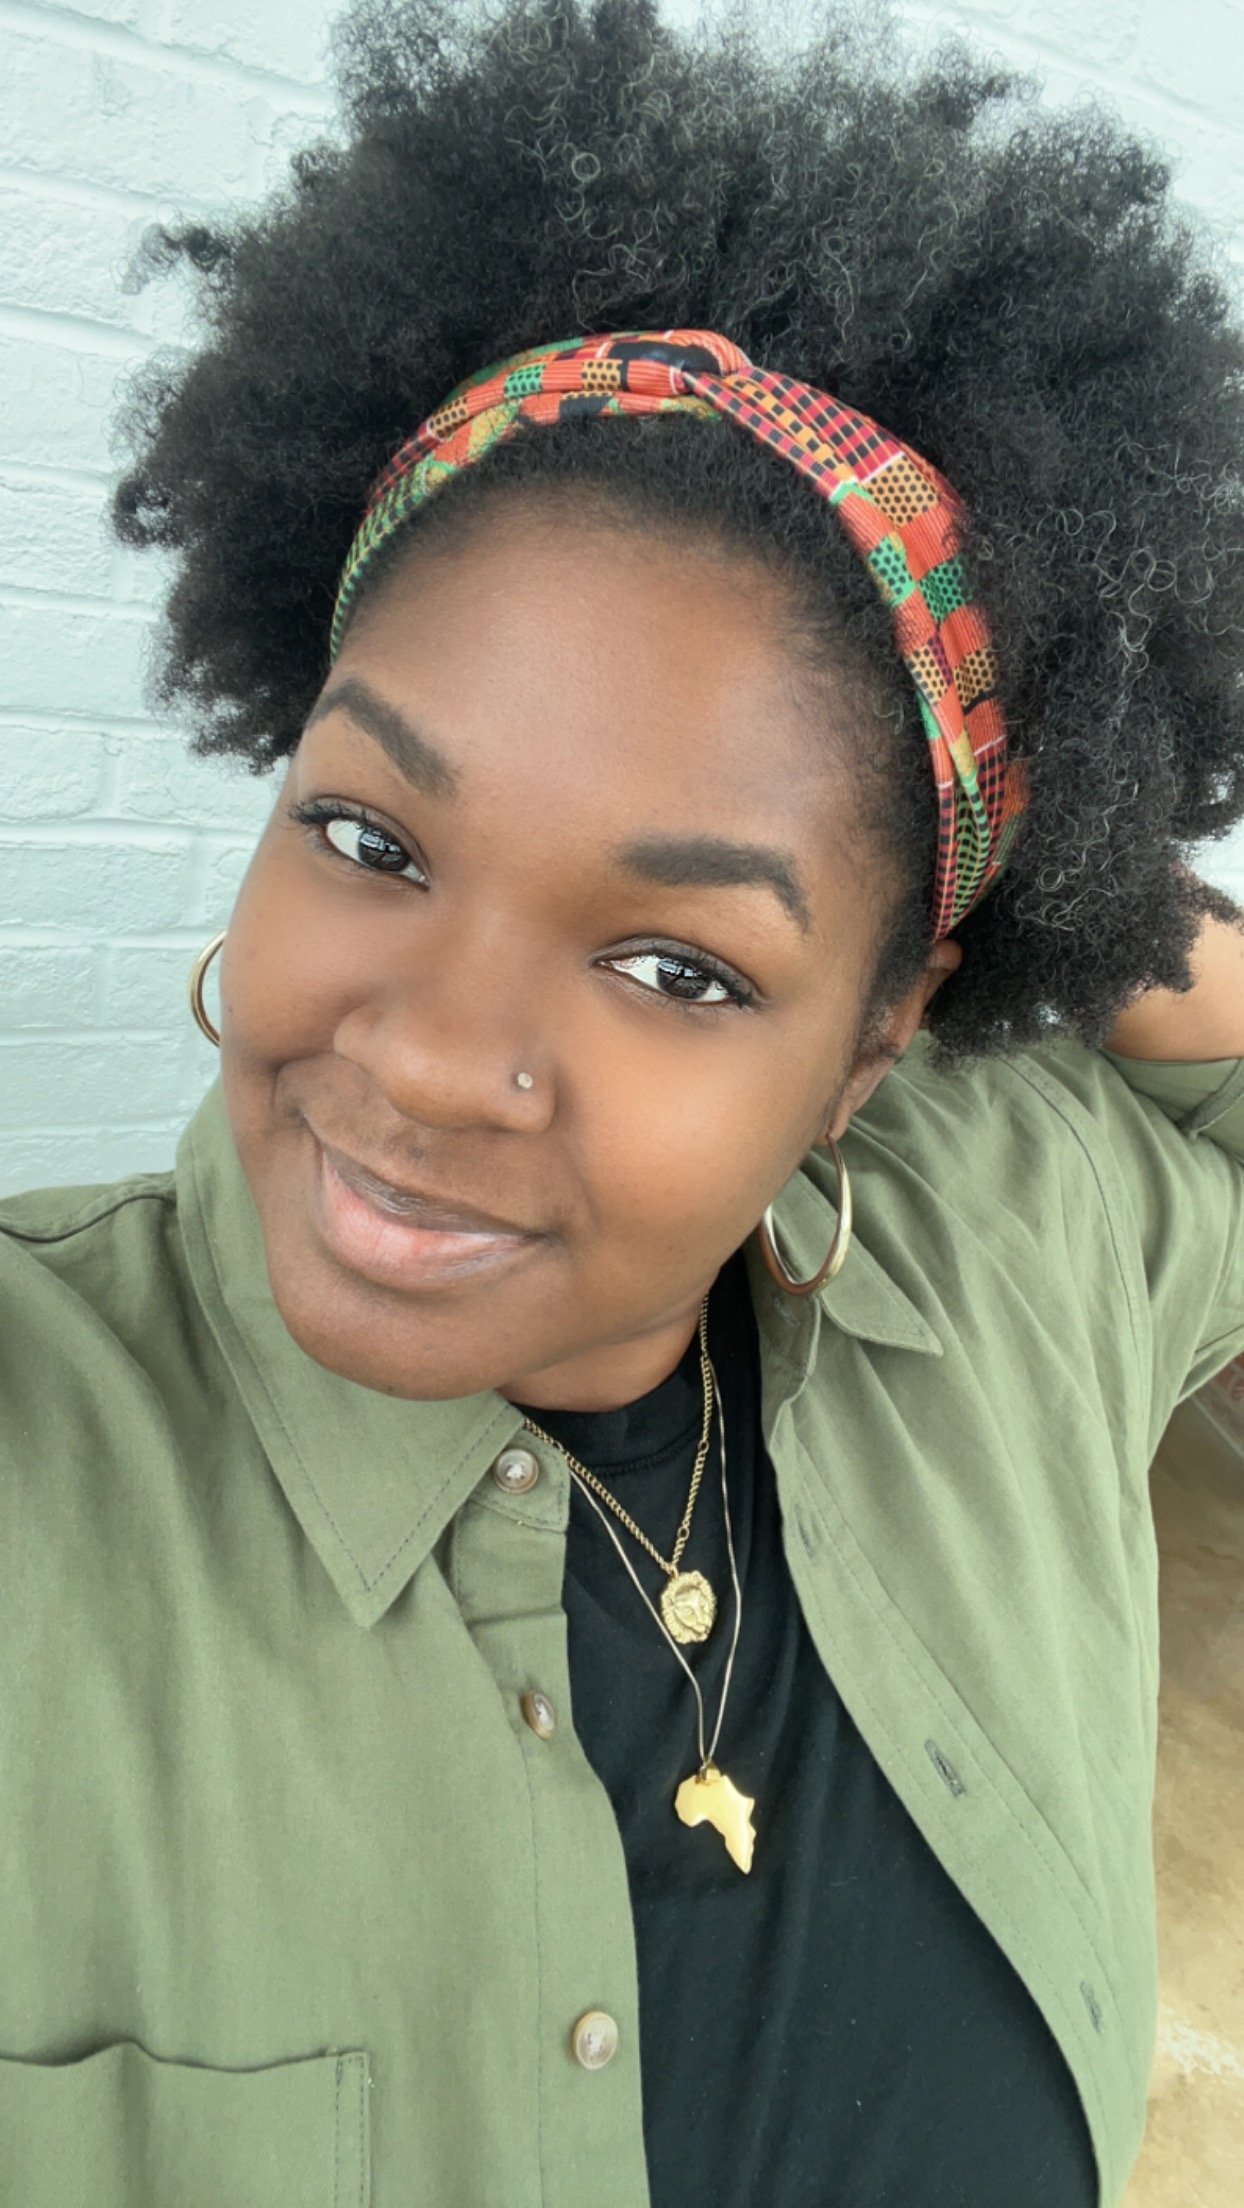
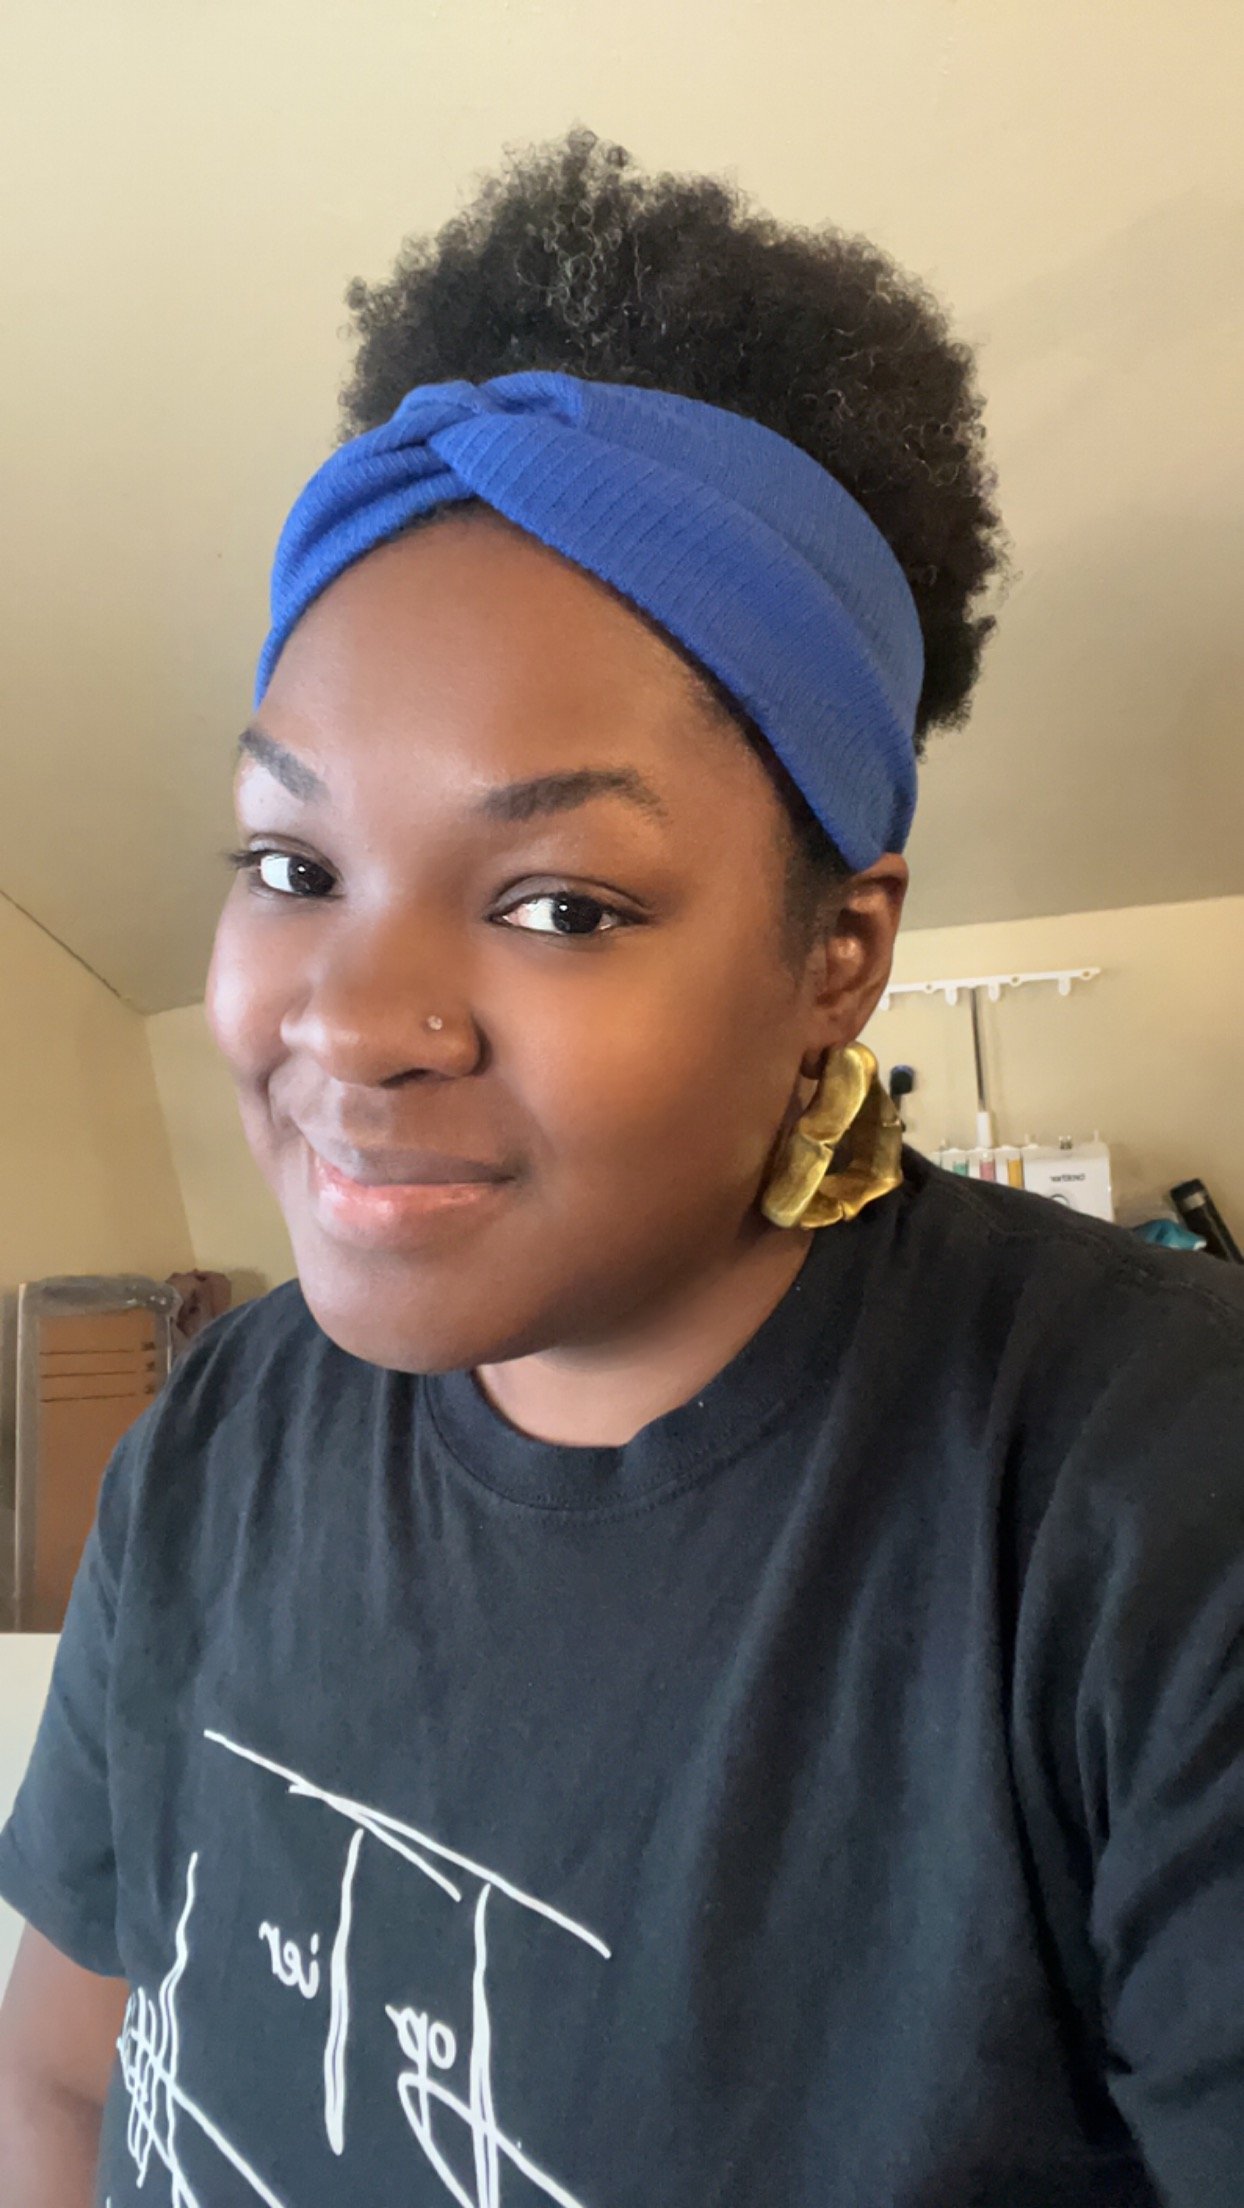
And there you have it—your stylish twist headband is complete! Remember, the seam should be visible on the outside. Enjoy wearing it as a trendy accessory or consider gifting it to a loved one. If you enjoyed this tutorial, please like, follow, and subscribe for more inspiring videos.
Thank you for joining me on this sewing adventure. Stay tuned for upcoming DIY projects on Sewing with Phantashia. Happy crafting!